
Creating tables in RVSiteBuilder 5
RVSiteBuilder 5 series
7. Creating tables in RVSiteBuilder 5
This tutorial assumes you've already logged in to RVSiteBuilder.
Now let's learn how to create tables.
1) Click step3.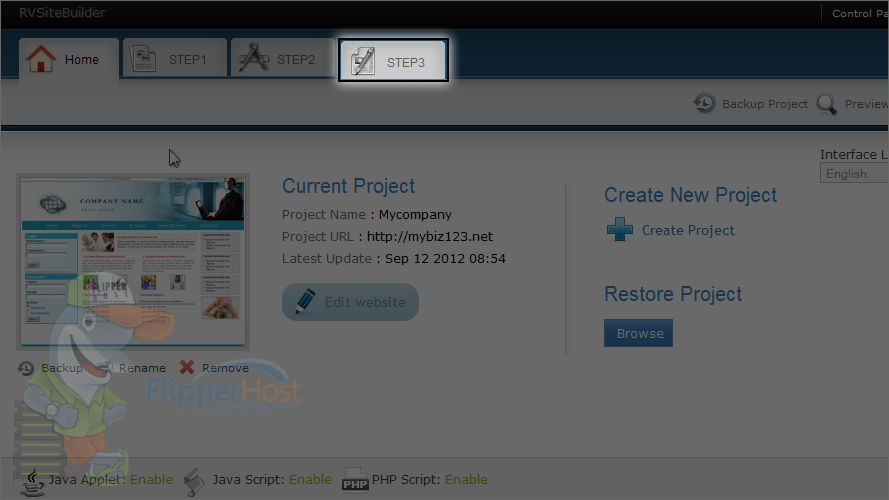
2) Click the edit icon for the page where you want to add a table.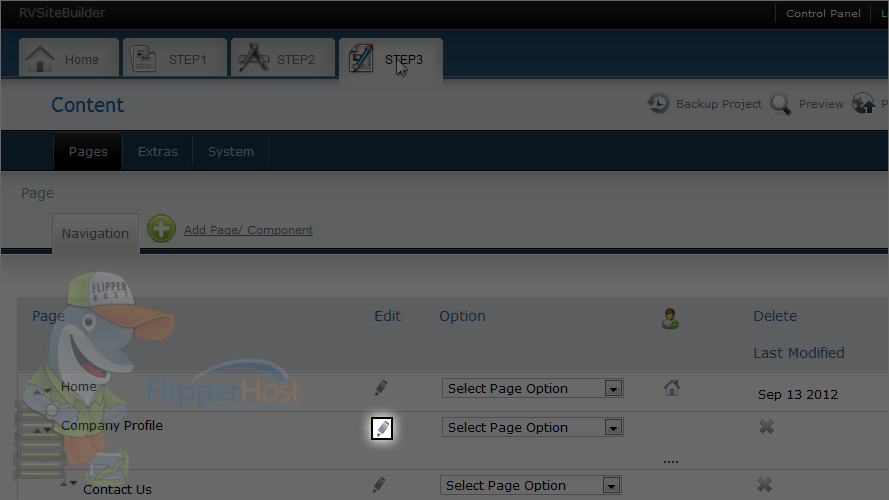
This is a full-featured web page editor which is used to edit the various web pages throughout your website and is where you can create tables within a page.
3) First position the cursor where you want to create a table.
4) Then click and hold this tables icon here.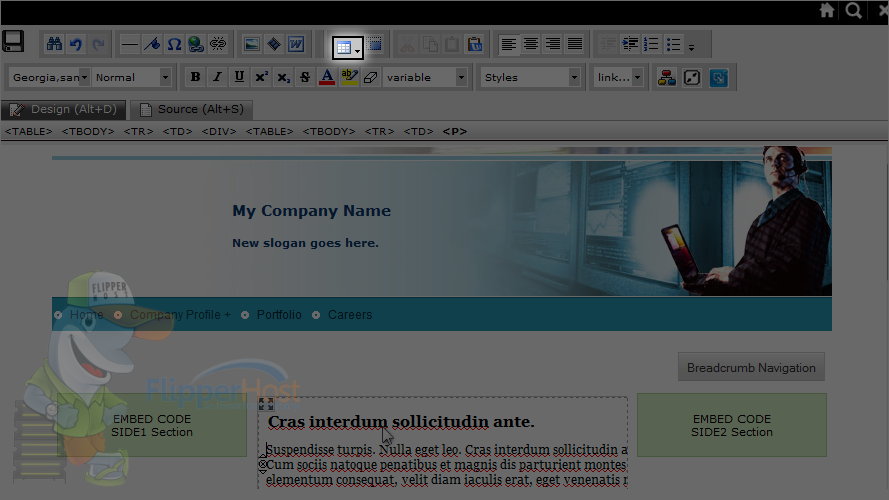
5) Click insert table link to add a table.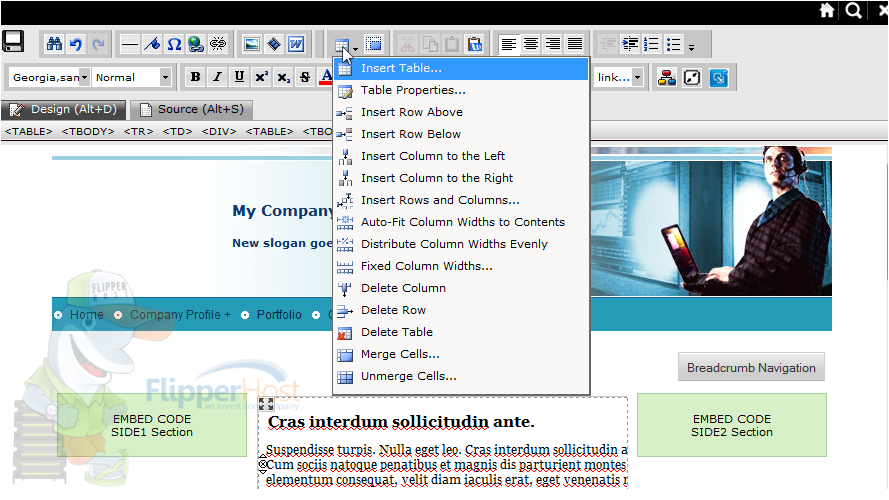
This is where you define your tables, including how many rows and columns it is to have, what size it should be, spacing attributes and background and border colors.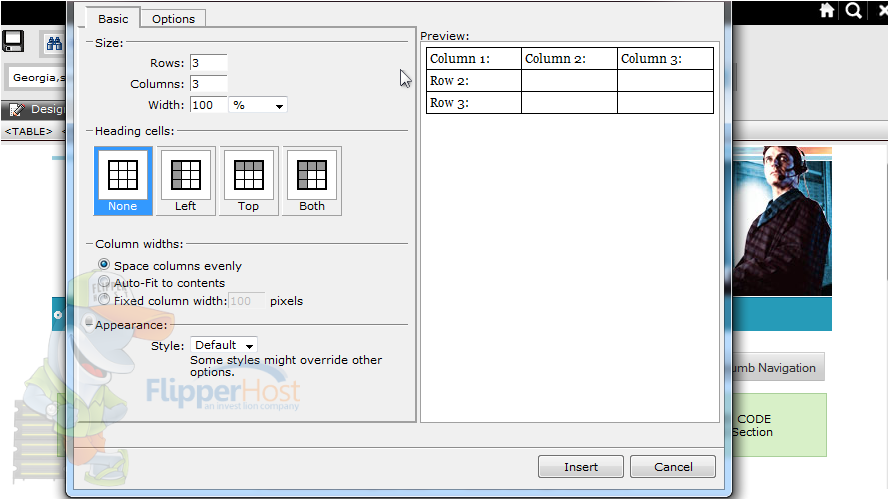
Once your table is created, you can start entering text or images into the table cells.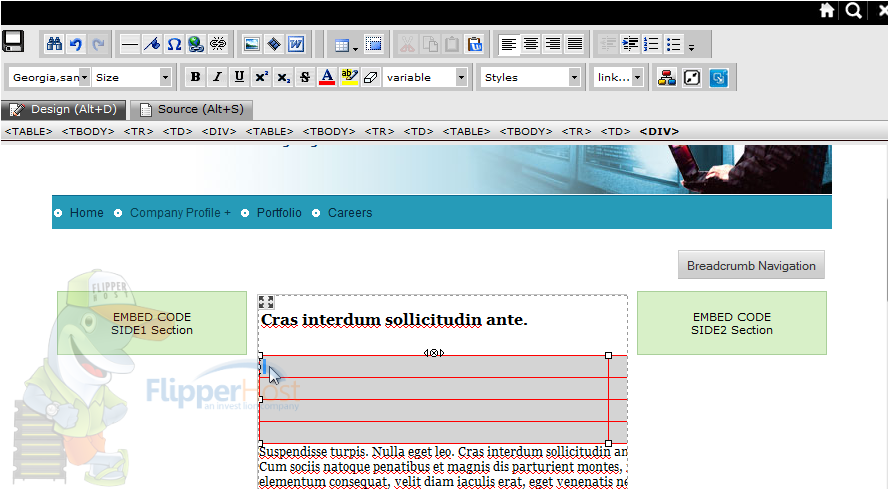
You can format text within a table the same way as if it was not in the table.
Now let's see how to merge two cells together.
6) Click merge cells.
We can always insert additional rows into our table.
7) Click insert row below.
In the same way, we can delete existing rows too.
8) Click delete row.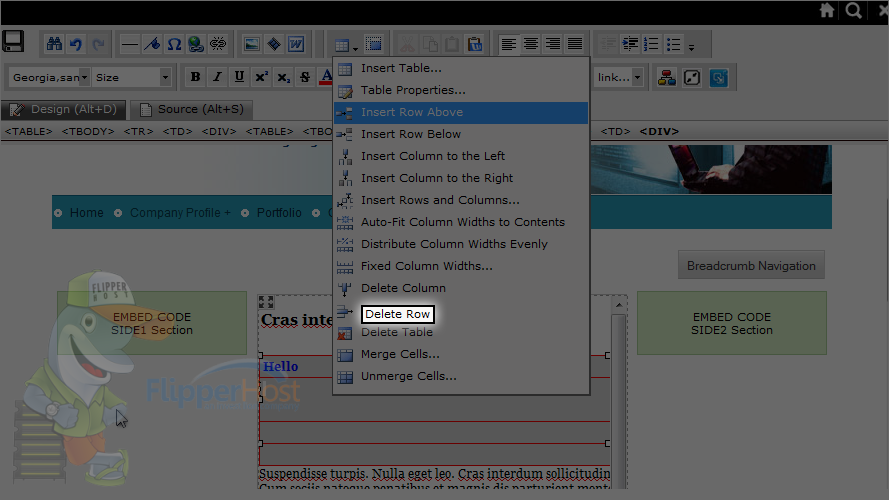
Let's take a look at the table properties.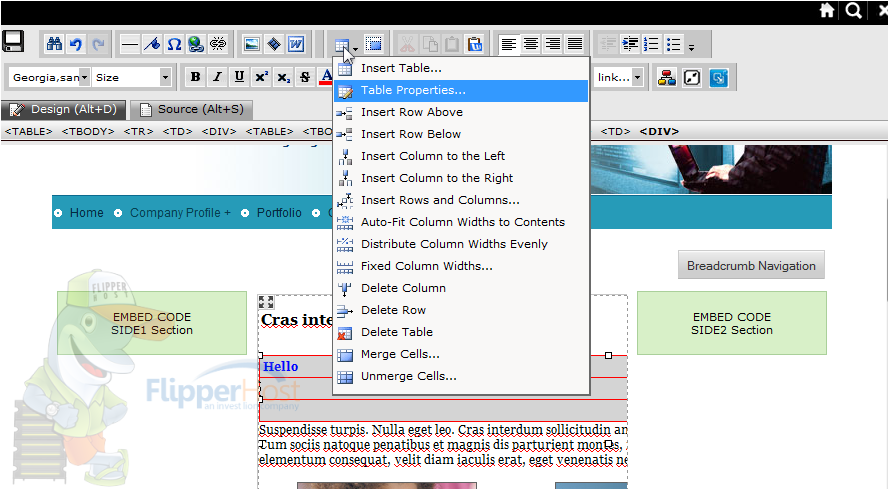
From here you can change the properties of individual cells, entire rows or the entire table.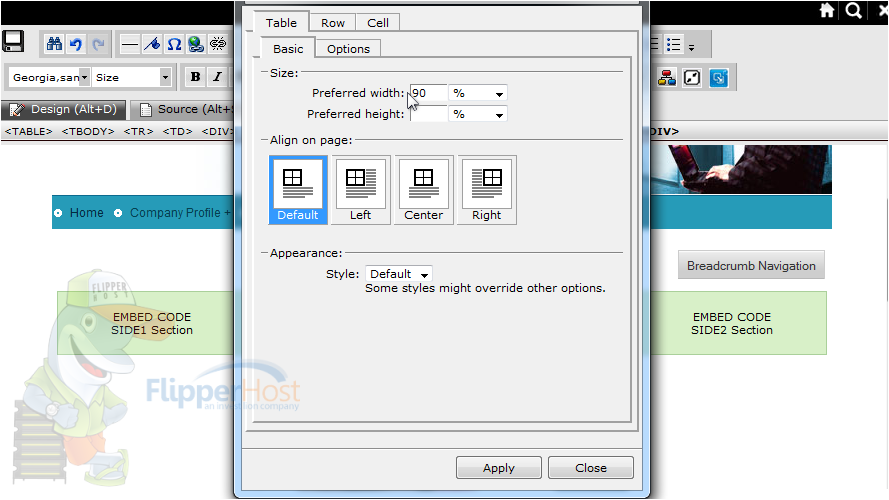
9) When finished making your changes, be sure to click this save icon here.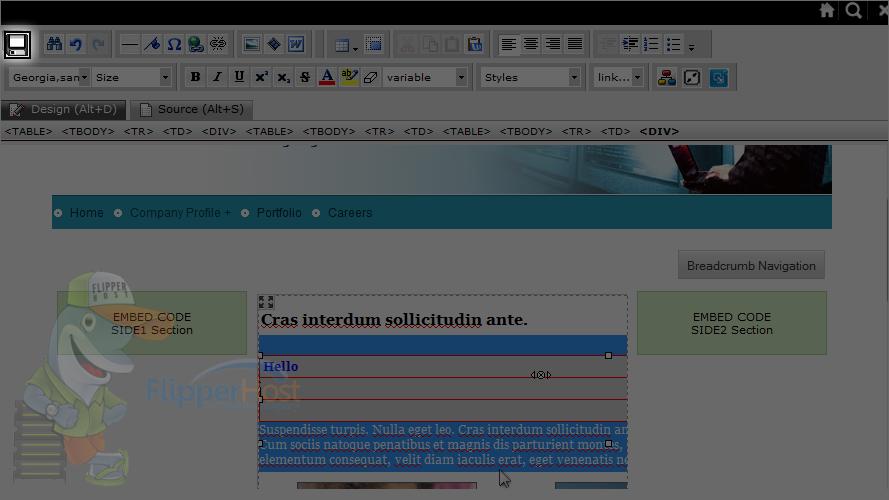
Don't forget to publish any changes you make for them to take effect.
10) Make any necessary changes and click publish.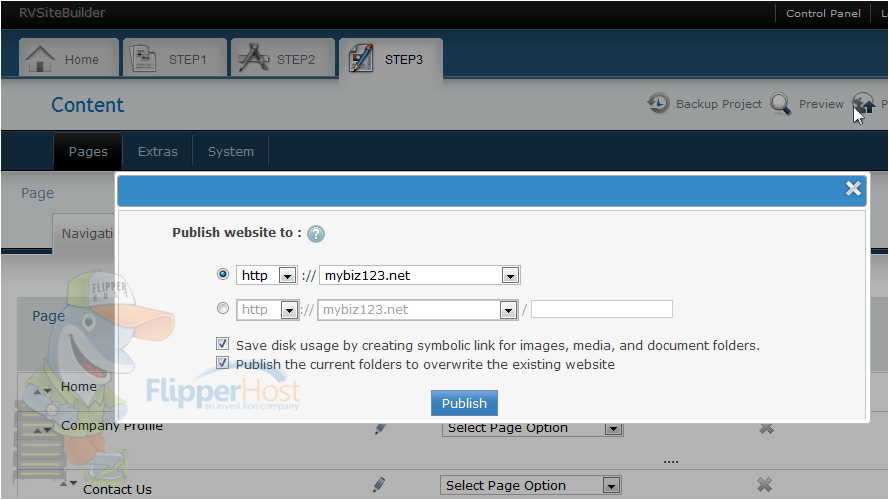
We have added a table in the company profile page. Let's check it.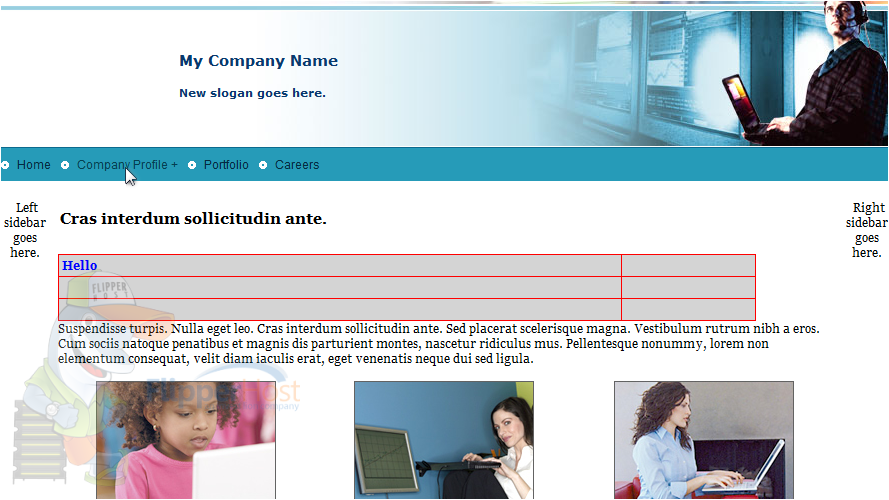
This is the end of the tutorial. Now you know how to create tables in RVSiteBuilder 5.
Powered by WHMCompleteSolution